Category: Linux

  • Extract Memory Usage As Integer

    free -m | grep Mem | awk '{print $3}'

    Use that and feed memory usage into a graphite server every minute from a cron script:

    */1 * * * * echo "some.system.memoryusage `free -m | grep Mem | awk '{print $3}'` `date +%s`" | nc graphite.somedomain.com 2003
  • WordPress Trackback Maintenance

    Sometimes you just need to get rid of all that trackback data from your WordPress database. Here’s how to do it manually from your MySQL command line:

    DELETE FROM wp_comments WHERE comment_type='trackback';
    DELETE FROM wp_comments WHERE comment_type='pingback';

    Great, but now your comments counts are all out of whack, since that integer is stored in the wp_posts table. Here’s how to check that:

    SELECT wpp.id, wpp.post_title, wpp.comment_count, wpc.cnt
    FROM wp_posts wpp
    LEFT JOIN (
    	SELECT comment_post_id AS c_post_id, count(*) AS cnt FROM wp_comments
    	WHERE comment_approved = 1 GROUP BY comment_post_id) wpc
    	ON wpp.id=wpc.c_post_id
    	WHERE wpp.post_type IN ('post', 'page')
    	AND (wpp.comment_count!=wpc.cnt OR (wpp.comment_count != 0 AND wpc.cnt IS NULL)
    );

    And here’s how to fix it (make a backup of your database first, just in case):

    UPDATE wp_posts wpp
    LEFT JOIN (
    	SELECT comment_post_id AS c_post_id, count(*) AS cnt FROM wp_comments
    	WHERE comment_approved = 1 GROUP BY comment_post_id) wpc
    	ON wpp.id=wpc.c_post_id
    	SET wpp.comment_count=wpc.cnt
    	WHERE wpp.post_type IN ('post', 'page')
    	AND (wpp.comment_count!=wpc.cnt OR (wpp.comment_count != 0 AND wpc.cnt IS NULL)
    );

    Cheers!

  • Making A Bootable CentOS 6.4 x86_64 USB Key

    Making A Bootable CentOS 6.4 x86_64 USB Key

    1. Download the PenDriveLinux “Univerals USB Installer” from http://www.pendrivelinux.com/downloads/Universal-USB-Installer/Universal-USB-Installer-1.9.3.9.exe.
    2. Download the Centos 6.4 Live DVD from http://holmes.umflint.edu/centos/6.4/isos/x86_64/CentOS-6.4-x86_64-LiveDVD.iso (or any other mirror).
    3. Run the Universal USB Installer utility and click “I Agree” on the license agreement screen.
    4. Insert your USB drive into an open USB port on your computer.
    5. Installer Step 1 – Select CentOS from the dropdown list. It’s near the bottom under the “Other Distros Alphabetical” category.
    6. Installer Step 2 – Click “Browse” to locate the ISO. Now, because the utility is trying to locate a specifically named ISO file, you need to type in *.* and hit enter to show all files. Now select your newly downloaded CentOS ISO and click “open”.
    7. Installer Step 3 – Select the drive letter of the USB drive, and finally hit create.
    8. Wait for the utility to work its magic. It will load up 7zG and install the ISO file onto your USB thumb drive.
    9. When it’s done, move the USB key to your target machine, restart, and boot from USB. You’ll now be looking at the CentOS 6.4 live version and you have the option to play with it or install it to disk.

    Universal USB Installer7zG

  • Using Samba on CentOS With Windows 7/8

    Using Samba on CentOS With Windows 7/8

    Go ahead and install the samba packages:

    sudo yum install samba samba-client samba-common
    smbd --version
    sudo chkconfig smb on
    sudo chkconfig nmb on
    sudo nano /etc/selinux/config

    Disable SELINUX by editing /etc/selinux/config and make one small change:

    SELINUX=disabled

    Make some additions to iptables:

    sudo iptables -I INPUT 4 -m state --state NEW -m udp -p udp --dport 137 -j ACCEPT
    sudo iptables -I INPUT 5 -m state --state NEW -m udp -p udp --dport 138 -j ACCEPT
    sudo iptables -I INPUT 6 -m state --state NEW -m tcp -p tcp --dport 139 -j ACCEPT
    sudo service iptables save

    NOW, restart the server:

    sudo reboot now

    Backup and modify smb.conf:

    sudo cp /etc/samba/smb.conf /etc/samba/smb.conf.bak
    sudo rm /etc/samba/smb.conf
    sudo touch /etc/samba/smb.conf
    sudo nano /etc/samba/smb.conf

    The file should contain:

    [global]
    workgroup = WORKGROUP
    server string = server_name
    security = user
    map to guest = bad user
    
    [private-share]
    path = /media/sdd
    valid users = @smbgrp
    guest ok = no
    writable = yes
    browsable = yes

    Restart smb and nmb:

    sudo service smb restart
    sudo service nmb restart

    Add your groups and add users to them:

    sudo groupadd smbgrp
    cd /media/sdb
    sudo mkdir secureshare
    sudo chown -R username:smbgrp secureshare/
    ls -l
    sudo chmod -R 0770 secureshare/
    sudo usermod -a -G smbgrp username
    sudo smbpasswd -a username
    sudo service smb restart
    sudo service nmb restart
    sudo testparm

    private-share

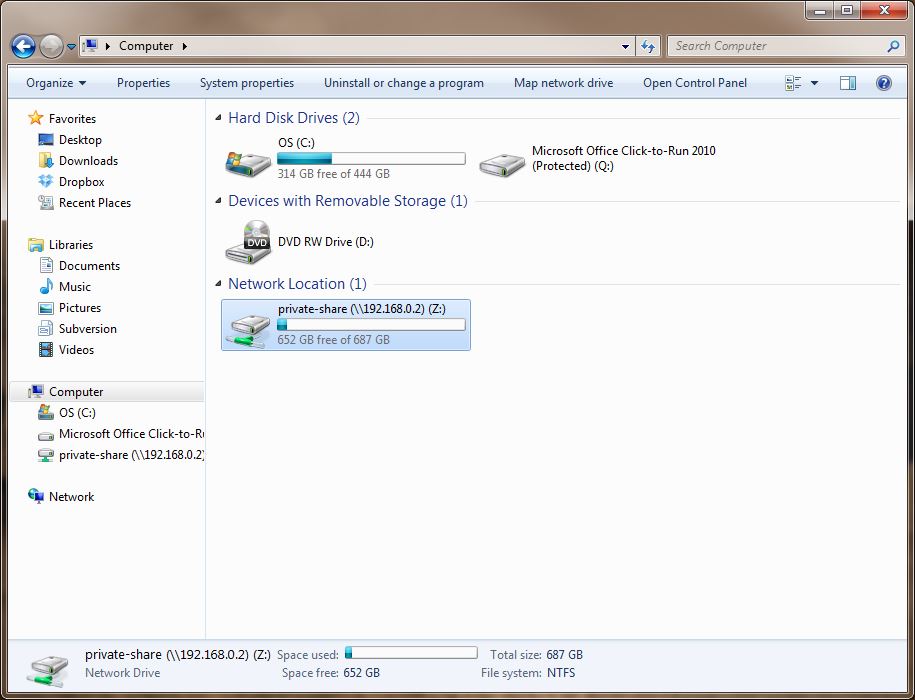
    Now connect from a windows PC using credentials from CentOS server by right-clicking within “Computer” and selecting “Add a network location”. Follow the prompts and your share will be usable from Windows!

    If you cannot connect, it’s most likely the firewall on the CentOS machine. Backup and then flush iptables to test if needed, and then rebuild your firewall accordingly. If you cannot get access to your shares, you have a permissions problem on the server end. Check users, groups, share permissions, and smb.conf for proper values.

    You’re welcome 😉

  • Resize All JPEG Images In a Folder

    for file in *.jpg; do convert $file -resize 1024x1024> $file; done
  • Batch optimize images in bash

    find . -type f -exec convert {} -resize 700×700> {} ;

  • Relating a MySQL Process to Server Process

    All of this assumes LAMP (specifically CentOS 6, MySQL server 5.5, Apache 2+ with mod-status enabled)

    On mysql server:

    watch -n 1 "mysql -e 'show processlist';"

    Look for sleeping connections that are staying open for a while. Watch for a trend. When you see a connection that you think will stay open for long enough, note it’s port number. Open second shell. Do the following:

    netstat -lnap | grep 12345

    – where the 12345 is the port number from the mysql process list. If/when you get a result, note the number to the right, next to “ESTABLISHED”. Next – open a web browser. Navigate to http://yourserver.com/server-status and do a search for that number (that’s the PID (process id). The highlighted line is now the process that caused the long-running MySQL thread.

    Repeat this process a bunch of times until you have a good overview of what’s causing problems. Viola! Debug success, and it’s time for beers!

    ( This week, we’re drinking Sam Adams Boston Lager for our friends in Boston )

  • Find all files recursively and give them a different extension

    find . -name “*.mp3” -exec rename .mp3 .mp3srbad {} ;

  • Watch mysql processlist in (almost) real time

    watch -n 1 “mysql -h 10.0.0.1 -u username -pPASSWORD -e ‘SHOW PROCESSLIST;’”